How to Add Top WordPress Google Fonts Manually & With Plugin
Let’s learn how to add Google fonts in WordPress.
Your website’s design plays an integral part in delivering a great user experience to your visitors. And while there are many ways to give your design a great look, we’re going to focus on fonts!
Fonts play a crucial role in your site’s design and choosing the right one is crucial. In fact, if you choose a good font that fits your site’s personality, it can have a real-time effect on your sites bounce rate and conversion rate because a neat text presentation provides an engaging experience to your web visitors and helps you to boost user engagement.
I am going to show you how you can easily add Google fonts to your WordPress site in two easy methods; Adding Google fonts to WordPress manually & with a plugin.
But before embarking on the embedding process, I would like to share some fundamental knowledge about Google’s official fonts in case you’re not familiar with them.
Read How to add Facebook Comments on WordPress
Table Of Content:
About Google Fonts
Google officially launched its fonts in 2010 as Google Web Fonts, is a library of free licensed fonts that provides an interactive web directory of fonts for users to use on their websites. All the fonts are available and free to use.
So why use Google Fonts for your website? Well, there are a few reasons:
Benefits of using Google Fonts:
- They’re free to use even for commercial purposes.
- They’re pre-hosted and all resources are served from Google server.
- Google Fonts are easy to use. Just embed the script code in your website or use a plugin (for WordPress).
- They’re downloadable and can be uploaded on your localhost.
Now I’ll show you how to add Google font to your WordPress site.
There are three ways to add Google Fonts to your WordPress manually, and I’ll cover them as well.
Now, let’s get started!
How to Add WordPress Google Fonts Manually
Adding Google font manually can be a little technical and involves a bit of code, so if you aren’t familiar with coding, I would suggest that you skip this method and go how to add Google font on your WordPress website using a plugin directly.
Step 1: Find the Best Google Font For Your Site
First, go to the Google fonts website and choose a font for your website that you want on your WordPress site.
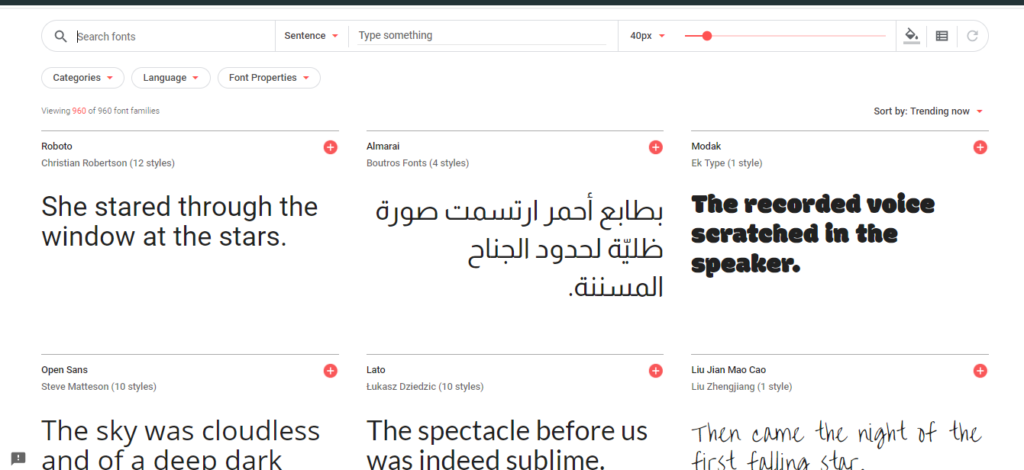
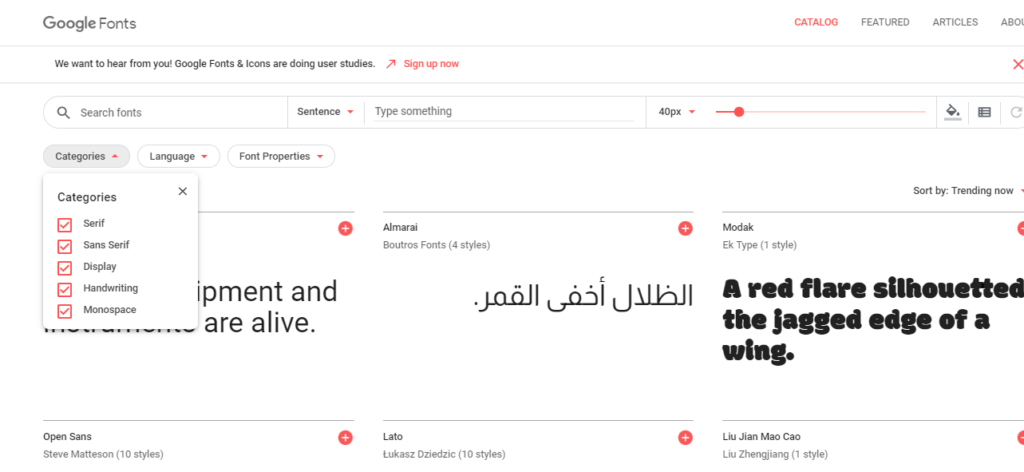
You can use the search bar if you already know which font you are looking for. Also, you can be selective by filtering it fonts category, language and font properties to get exactly what you’re looking for.
Google provides a quick preview feature lets you preview the fonts you want to choose. You just need to click on the font field then mark the text and type anything to check the display.
I will use Montserrat font in this tutorial and will show you how to use and add this Google font to your WordPress.
Step 2: Selecting & Adding Google Font
Since I’m going with Montserrat, I am going to select the font by clicking on the plus sign (+) as shown in the below image.
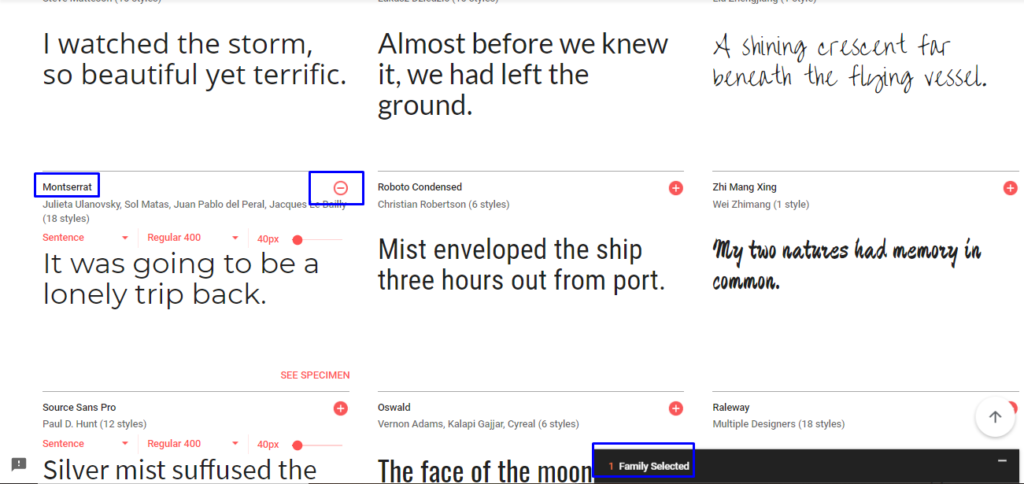
When you click on the “plus sign” of any font, a bar will appear on the bottom of your screen (as shown below) showing the number of font family that you may have selected for your site. It basically acts as a shopping cart and you can add several fonts if you wish to.

Step 3: Choose Style and Customize the Font
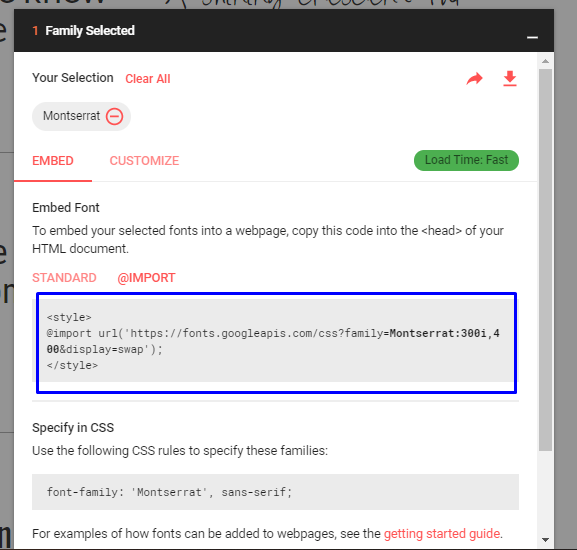
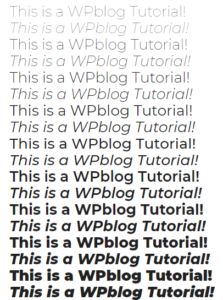
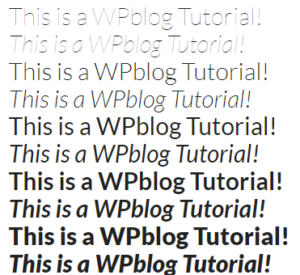
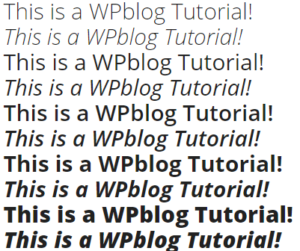
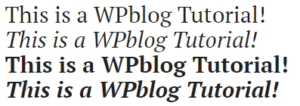
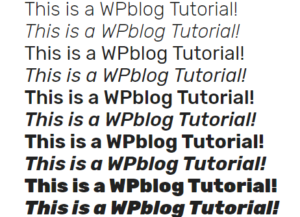
When you open the selected family tab, you will find two options: EMBED & CUSTOMIZE. You need to open the customize option and select the font styles (size, bold, italic, etc.) and languages.
You can select the different font styles which you want to add by just ticking the checkboxes. You can see in the picture below, I selected the “regular 400” and “light 300 italic” style.
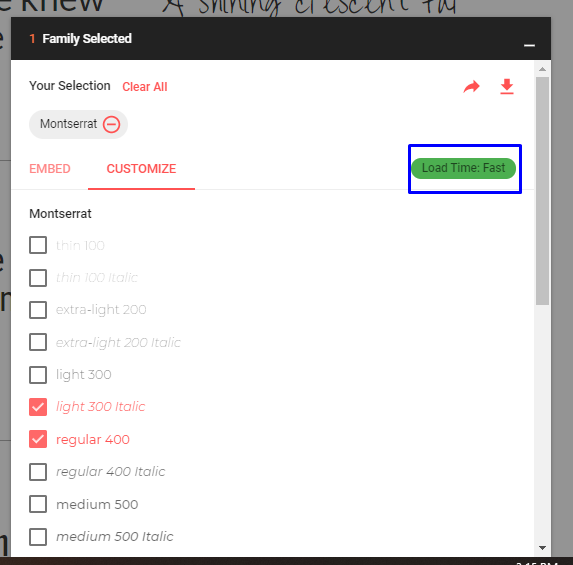
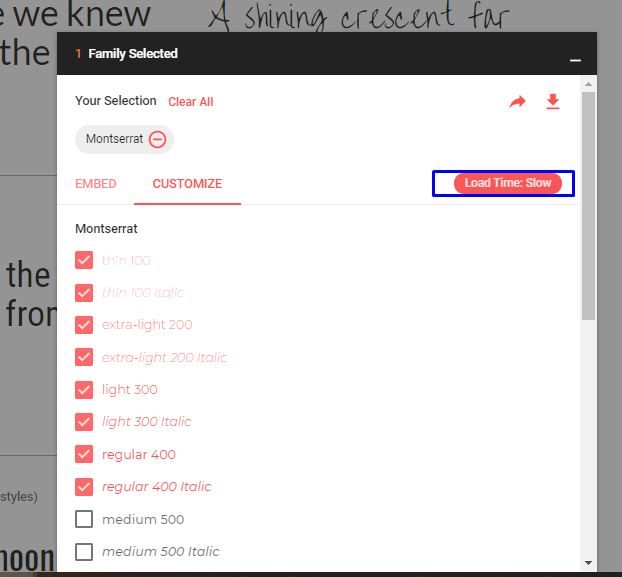
Note: Load time shows or indicates the time it takes to load on your site page.
Make sure that you only select the styles that you need, because the more styles you select, the higher the load time will be.
Step 4: Adding the Google Font to Your WordPress Site
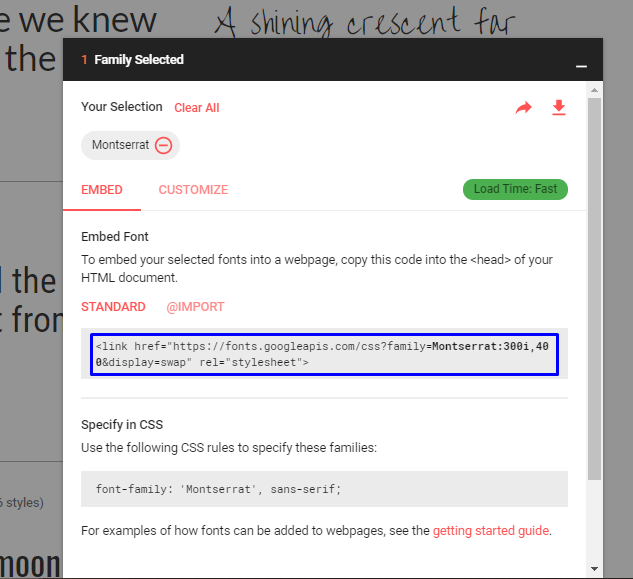
Now it’s time to add the Google Font to your WordPress site. For this, click on Embed and you’ll see the script code for your selected fonts as shown in the image below.
From here on, there are three ways to add the selected font to your site:
- Adding Google Fonts — The WordPress Way
- Embedding Google Fonts Code to Header.php
- Adding Google Font via Import
A. Adding Google Fonts — The WordPress Way
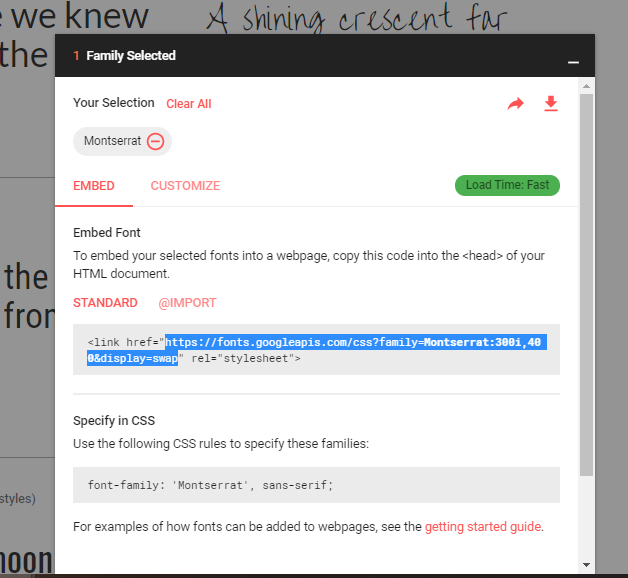
This one is a WordPress recommended method of adding Google Fonts to your WordPress site. Go back to the Embed tab in Google Fonts and copy the URL (not the whole script as shown in the image below) of your Google font. In my case, the URL is https://fonts.googleapis.com/css?family=Montserrat:300i,400&display=swap.
Now you need to add code in your function.php file. If you are working on the localhost then it will be in your theme folder. In my case it’s in Disk > Xampp > htdocs > wordpress > wp-content > themes > twenty nineteen.
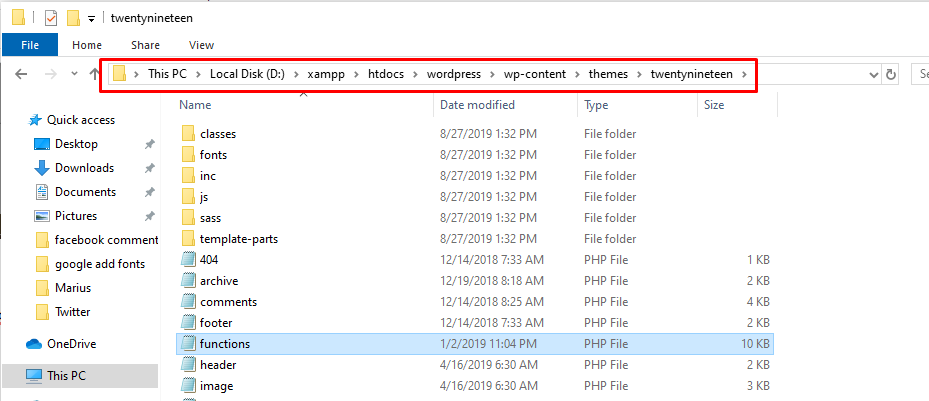
If you’re working on a live site or in any hosting platform then you need to access it by using any FTP client. Again, in my case, it’s in:
Applications > MyDB > public_html > wp-content > themes > twentynineteen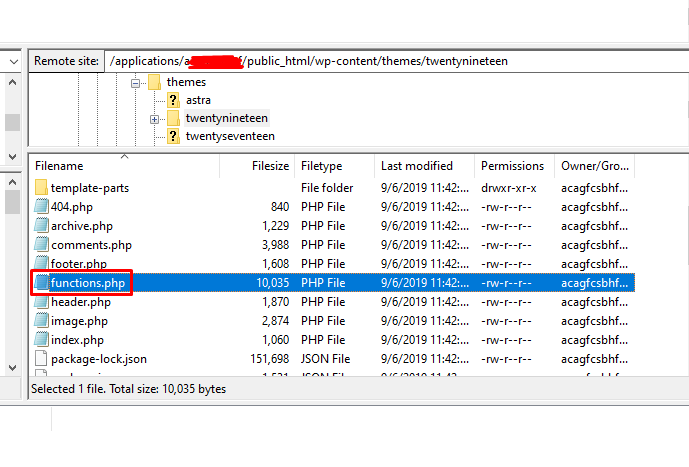 Next, open your functions.php file and add this code to it:
|
1 2 3 4 5 |
function wpblog_add_google_fonts() { wp_enqueue_style( ' wpblog_google_fonts ', ' https://fonts.googleapis.com/css?family=Montserrat:300i,400&display=swap', false );} add_action( 'wp_enqueue_scripts', 'wpblog_add_google_fonts' ); |
Note: Don’t forget to change the URL link with your own.
Now Save the file because you’ve successfully added the Google font to your WordPress website via the WordPress recommended method.
B. Embedding Google Fonts Code to header.php
In this method, you can add Google font by simply copying the code that you have on your Embed tab and adding it to the header.php file of your theme.
You’ll find this file in your theme folder:
Disk > Xampp > htdocs > wordpress > wp-content > themes > twentynineteen.
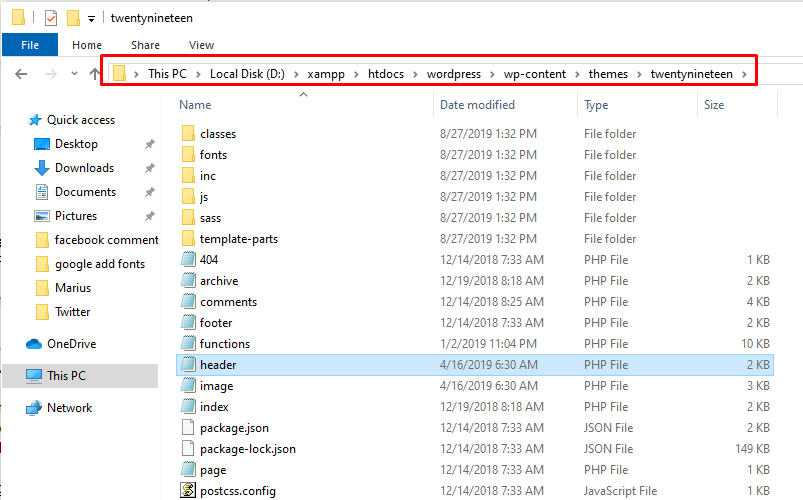
Now, Open the header.php file and add the following code in it:
|
1 2 3 |
<link href="https://fonts.googleapis.com/css?family=Montserrat:300i,400&display=swap" rel="stylesheet"> <link rel="stylesheet" type="text/css" href="https://wpblog.com/wp-content/themes/WPblog/style.css" media="all"> |
Note: Add this code inside the <head> section.
Just click on save and you’re now done with the embedding process!
C. Adding Google Font via Import
If you don’t want to load the fonts on your server and instead you want to call it from somewhere else, you can use this method. The easiest way to add Google font on WordPress, in this case, is to load them inside the stylesheet. Google provides an easy solution where you need to just click on Import to find the CSS script:
Now you need to copy the script without the <style> brackets and add this at the head of your theme’s stylesheet. Congrats! You are done with this process, but keep in mind that even though it seems like an easy way to add Google fonts to your WordPress site, it can affect your site’s performance by increasing the load time of your page.
Adding Google Fonts to WordPress With Plugin
Another way to add Google font to WordPress is through a plugin and it’s easier compared to the manual approach.
There are several plugins that can help you add fonts, but for this tutorial, I’ll use the Easy Google Font plugin.
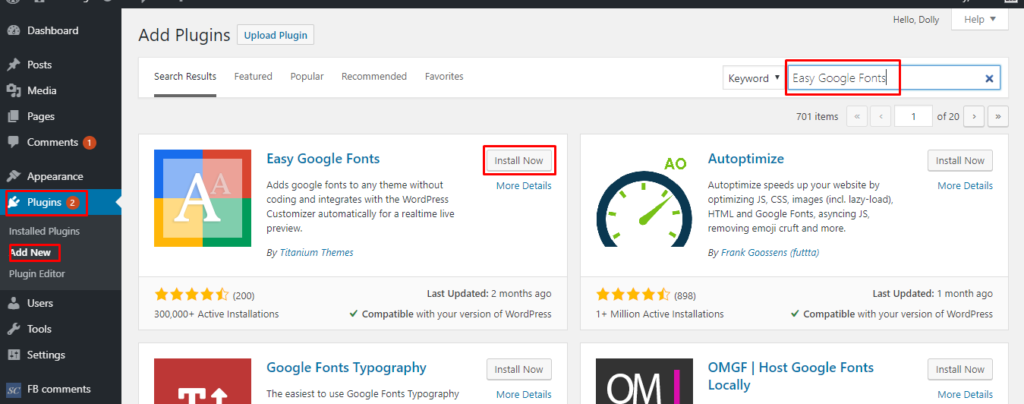
Step 1: Install Easy Google Fonts Plugin
To install this plugin you need to visit your Dashboard and go to Plugins > Add New and type Easy Google Fonts in the search bar, click on install and activate it.
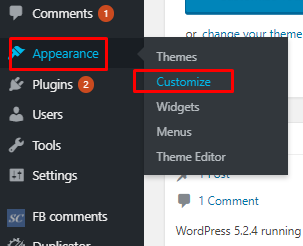
Step 2: Using different Google Fonts
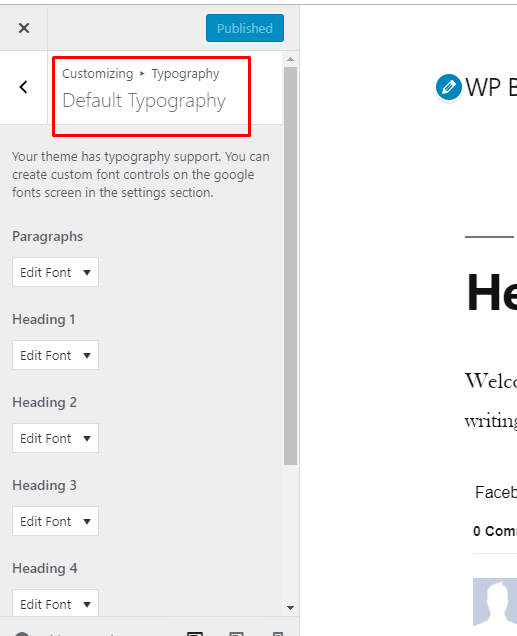
After the plugin is installed, you will see a new Typography tab added to WordPress customizer. To check out typography, go to Appearance > Customize as shown in the below image.
At first, we have default typography settings on our site, i.e., our active theme fonts. But now you can control the typography on your site by selecting and assigning any font for any attribute.
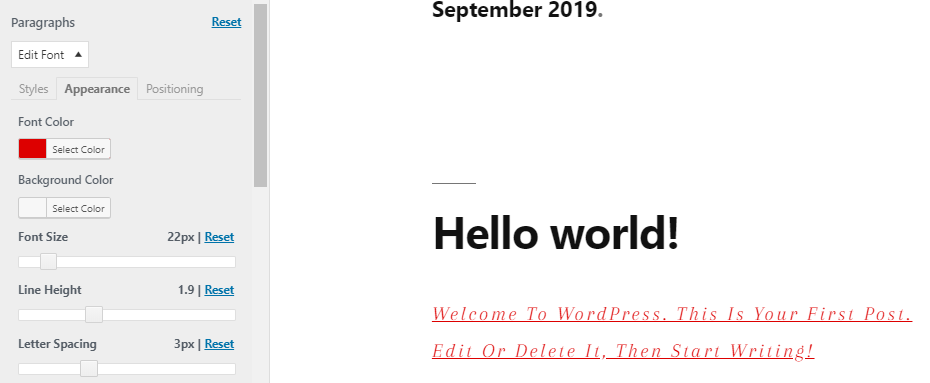
Let’s take a look at the font customization feature and how it works. For example, click on the Paragraphs menu and you’ll see the various style options for paragraphs in style tab like Scripts, Font Family, Font Weight, etc.
You can select any Script, choose any Font family, and select the Font Weight you like.
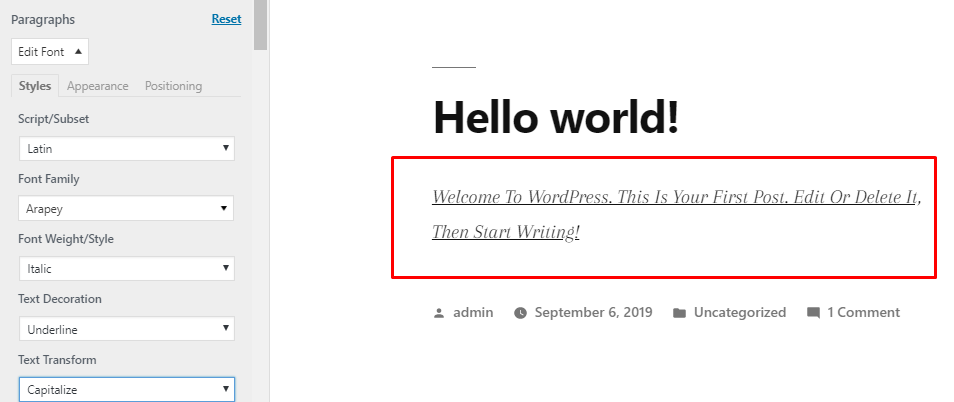
You can also change the paragraph appearance by simply changing its color, background, font size and much more.
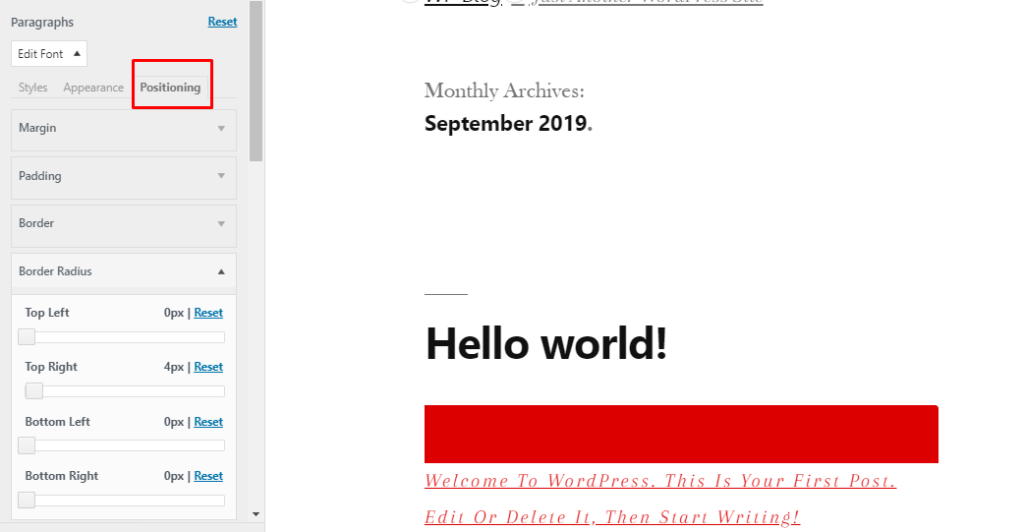
Also, you can play with the positioning as shown in the image below.
When you’re done, just save the changes and the changes will appear on your site.
Best Google Fonts For WordPress Site
Choosing the best Google Font for your WordPress site isn’t easy. After all, there are so many options out there, it can easily get really confusing. Hence, I’ve highlighted 7 of the best Google fonts for WordPress based on factors like readability, popularity, purpose and many more.
Let’s take a look at them.
- Roboto
Roboto is one of the most popular and widely used fonts for android and web applications.
- Lora
Lora is a popular font family due to its readability and variants
- Montserrat
Montserrat captures the beauty of urban typography and is another really popular font.
- Lato
Lato is a widely used font family and gives any site a professional look.
- Open sans
Open Sans is a humanist sans serif typeface and which has a friendly appearance and is easy to read.
- PT Serif
Another widely used font family which is more popular for web and print documents.
- Rubik
Rubik is another widely used font-family due to its clean and clear outlook.
These Google Fonts are highly popular fonts and if selecting from the huge library is confusing you, just select one from above and you’ll be good!
Conclusion
Custom typography and design makes your site more attractive and unique and it also helps boost user engagement. As you saw in the tutorial above, there are multiple ways to add Google fonts to your WordPress. You can do it manually using three different methods, or you can do it using a plugin.
If you’re still wondering how what font and colors to choose for your website, here’s an article that will relieve you of some confusion: How to choose the best design and colors.
If you find the tutorial useful, don’t forget to share it in your circle. And of course, if you need a guide on anything related to WordPress, just comment below or you can email me at farhan@app61.cloudwayssites.com.

Create Faster WordPress Websites!
Free eBook on WordPress Performance right in your inbox.

Moeez is ‘The’ blogger in charge of WPblog. He loves to interact and learn about WordPress with people in the WordPress community. Outside his work life, Moeez spends time hanging out with his friends, playing Xbox and watching football on the weekends. You can get in touch with him at moeez[at]wpblog.com.