What You Should do When WordPress Releases a New Version

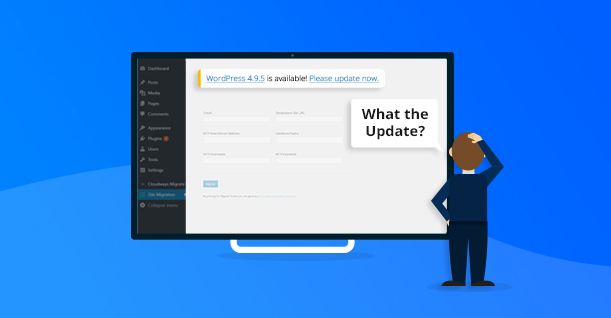
WordPress has a history of regularly releasing updates in an attempt to improve the security and performance of the CMS. These days, the frequency of updates has increased and in the wake of recent security incidents, regular updates have become rather common for the CMS.
Why Updating WordPress is Important
If you are using an older version of WordPress, you are using a platform that is vulnerable. Hackers are always on the lookout for websites that have not yet been updated because the vulnerabilities are known are easier to exploit. Updating WordPress is crucial because, with every update, your website becomes more secure from malware and hackers.
Older versions also have a serious impact on the load time of the pages. A new WordPress version often improves speed and performance of the CMS. The page load speed has a direct impact on the search engine rankings of your website. In this context, updating the WordPress version is a great move forward for the SERP positions.
In this article, I will take you through all the steps that you should follow whenever a new WordPress version is released.
Let’s begin!
Step 1: Create a Backup of the Current WordPress Website
Creating a backup of your website is always the first step of any process that could disrupt your website. This often includes the scenarios where you wish to install a new plugin, theme or addon. There is always a risk that this action might break the website. In such cases, backups allow you to restore the website in minimum time.
Almost all hosting providers claim that they offer full WordPress backups. However, all they do is backup the MySQL database (that covers the blog posts, comments and the setting of the admin panel). This leaves out the WordPress core files which means you won’t be able to recover the changes and all the customizations for themes and plugins. So, while creating the backup, make sure you have backed up both the MySQL database and WordPress files.
Check out 10 Best WordPress Backup Plugins
Step 2: Check the PHP Version
Often, the latest WordPress version works best with the most recent PHP version. If a WordPress update states that it performs better with PHP 7.2, you must check the PHP version offered by your hosting provider.
At this point, you are at a crossroads. If the hosting provider offers the required PHP version, you are good to go. However, if this is not the case, it is time to consider moving to a provider that does provide the PHP version required by the new WordPress version.
Step 3: Create a Staging Environment (aka a Clone)
As an avid WordPress user, I always have the space of setting up a clone of my website. This allows me to test the updates and changes on a replica of the website while keeping the original website safe and untouched.
You should always create a staging area or a dummy website for your testing purposes. This way you can freely test different plugins and updates without worrying about your live website.
Step 4: Update Your Website
After you have created a staging site, you are now ready to update your WordPress to the latest version. You can either update manually or through the automated process.
Manually update the Website
To update your WordPress website manually, first download the latest version from WordPress.org. Unzip the file in a separate directory on the system. Next, head over to the root directory and delete ‘wp-includes’ and ‘wp-admin’ directories and upload the new ‘wp-includes’ and ‘wp-admin’ directories from the folder you have just downloaded and unzipped.
To read the full guide on the topic, visit: How to Manually Upgrade WordPress
The Automated Process
To update your WordPress manually, just click “Update WordPress” from your WordPress admin panel, The update process will start immediately. This is obviously the easier method of updating the WordPress version and is the recommended process for all users.
Step 5: Check the Website for Broken Themes and Plugins
After you have updated your website, the next essential step is to check if all plugins are working. Some plugins might not be compatible with the new WordPress update. In this case, you can either wait for the next plugin or find an alternative. You can contact the plugin developer and let them know that their plugin is not working with the latest WordPress version.
You should also check if your theme is working properly after the update. Try to browse all the major pages of your website and open every landing page. Next, try the navigation on your website and the menus and widgets on the website.
Step 6: Install The New WordPress Update on Your Live Website
Once you have checked the new update on the staging website, you can take it live on your actual website and enjoy the enhanced security and improved functionality.
If Anything Goes Wrong
Restore the Backup
There is a possibility that not everything goes smoothly during the update process. There is always a chance that plugins and themes might break the new website. In this case, you can always roll back to the previous WordPress version. This is where the backup you made in step 1 would come in handy.
Developers usually know if their plugins and themes are compatible with the updated WordPress version. I often advise users to wait until the compatible versions roll out. If you want to start using the new update right away, experiment with similar plugins that are compatible and works perfectly with the newer WordPress version.
Closing Note
Updating your WordPress website to the latest version is important as it improves security and performance. However, it is highly advisable to not update your website the day the update is launched. Wait for a few days (or even weeks) for the new core to stabilize. A fresh update is likely to contain bugs that need fixing. This can break your site and leave you in a big mess.

Create Faster WordPress Websites!
Free eBook on WordPress Performance right in your inbox.


