3 Easy Methods To Optimize Images On WordPress Websites

Images are an integral part of websites these days. Images help to retain the attention of your visitors for longer periods of time and also make your customers understand the messaging on your website. Research tells us that a human remembers visual content much better than what he has read.
WordPress has a fairly easy-to-use Media Library and there are numerous WordPress gallery plugins that add more features and ways to display images on your WordPress-powered websites.
Images are attractive and necessary, but images take a lot of bandwidth of your server, storage space and also are one of the primary reason to reduce the speed of your WordPress website. To optimize the loading speed of a WordPress website, it is necessary to optimize the images on your WordPress website. In this tutorial, we are going to learn three methods to optimize the images.
Method 1: Optimize WordPress Images Using A Plugin
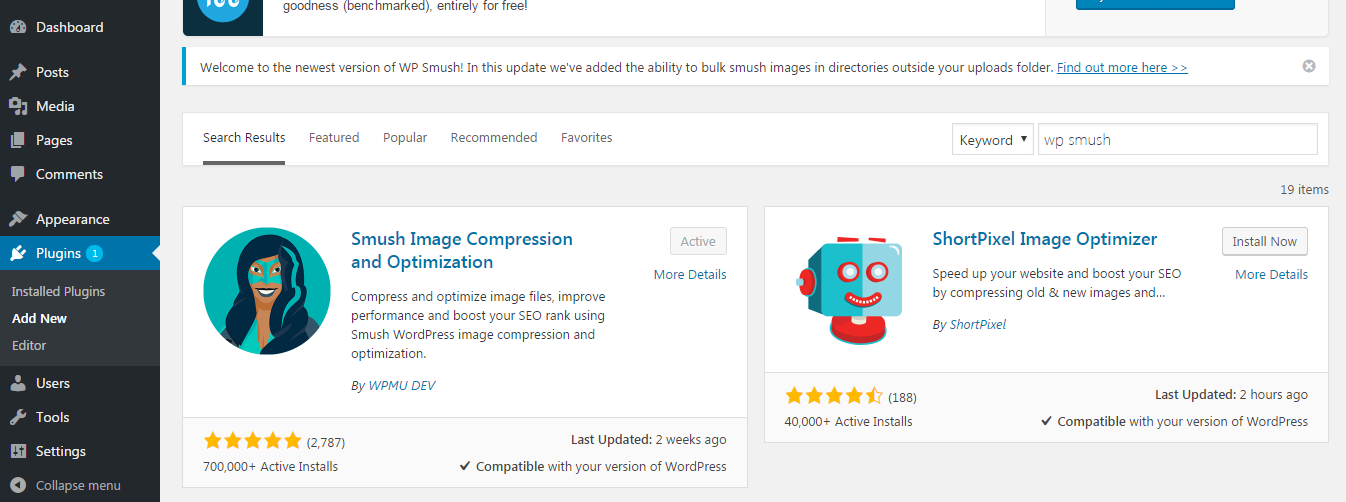
The best WordPress image optimization plugin is WP-Smushit by WPMU DEV and it wins our recommendation by a mile.
This plugin is very user-friendly and easy to use. Just install it on any of your WordPress websites and it will auto-detect images to be compressed. While compressing, it will also tell you how much size it has reduced and how much space you have saved on your server.
This plugin compresses images of all the popular formats that are GIF, JPEG, and PNG. This plugin can bulk compress images using dedicated smushing servers, hence reducing load on your server.
This plugin also does the job automatically by running in the background. This plugin strips extra meta information from JPEGs, converting files to PNGs and cutting out the colors.
How to use WP-Smushit
Step 1: Login to WordPress admin and install WP-Smushit by navigating to Plugins > Add New and searching for WP-Smushit.
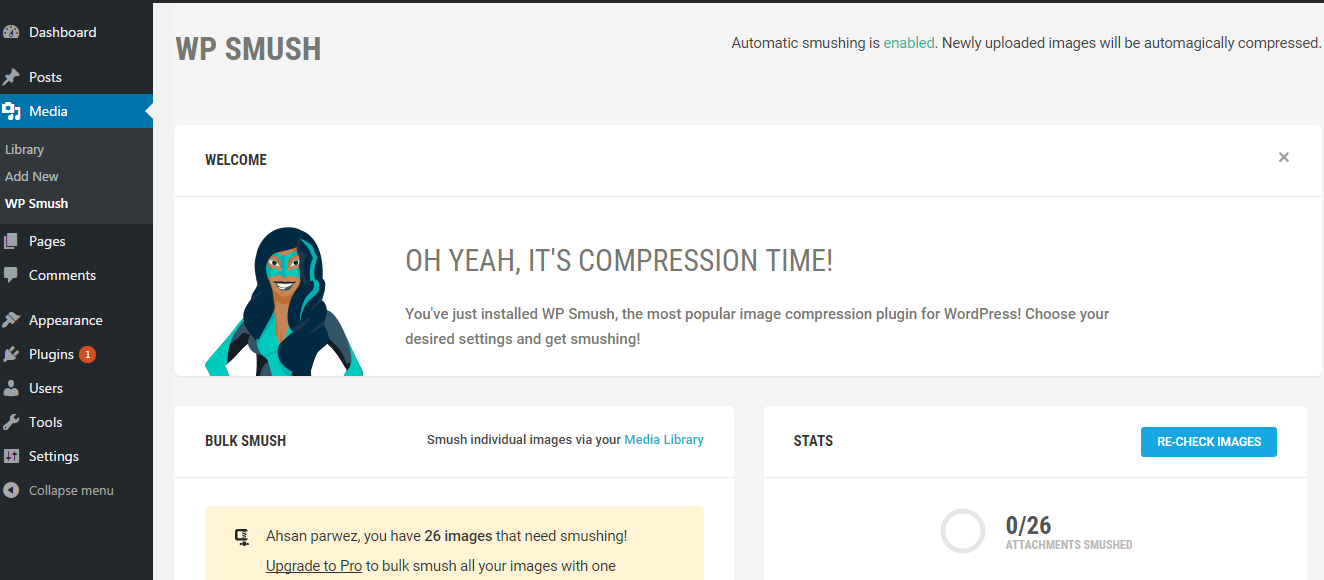
Step 2: Once installation is complete, then navigate to Media > WP Smush and you will see a number of images reported by WP-Smushit that require compression. Just click Bulk Smush Now and the compression will start.
That’s about it! You can even get a pro version of this plugin from WPMU DEV. It has even faster and better compression options.
Method 2: Optimize Website Images Using Google PageSpeed Insights
Google PageSpeed Insights is a very helpful and a free page-performance-analysis tool. It tells your webpage’s grade on mobile and desktop devices. The higher the grade your website has, the better page performance you will have.
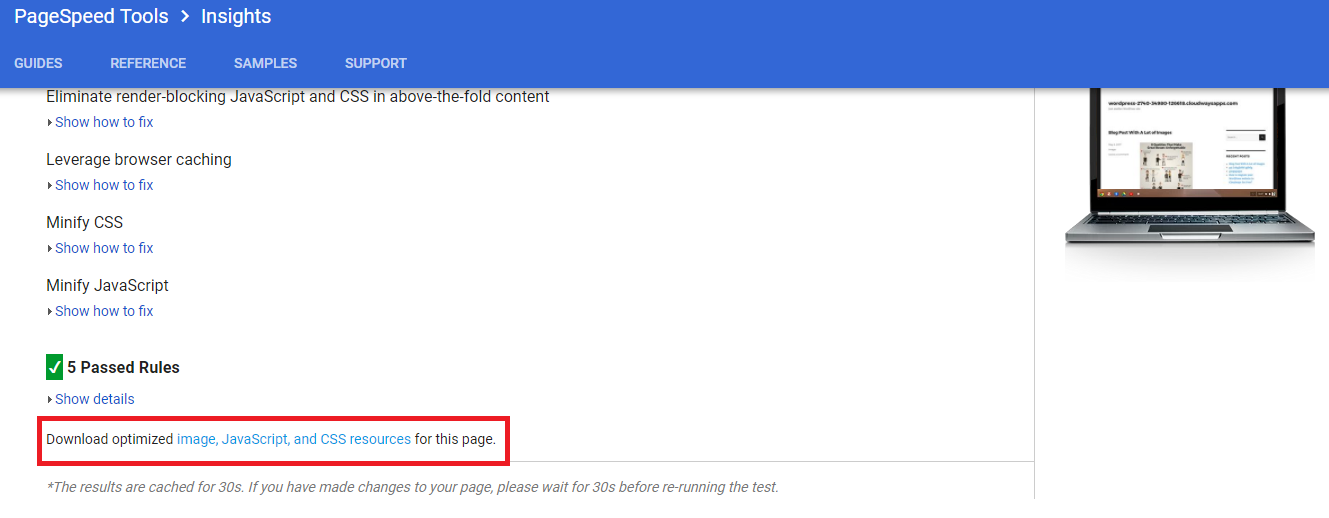
One of its most useful features is to give you optimized images, JS and CSS files for your website, which you can then download and upload to your WordPress website.
Step 1: Paste the URL of your website in the PageSpeed Insights and let it run the analysis. Once the analysis completes, you will be able to see the grade of your website on Mobile and Desktop. A grade higher than 80 is considered good, anything less than 80 requires work and consideration.
Step 2: Click on the Desktop version and scroll down. Download the optimized images, JS and CSS files and then upload the images to your WordPress website.
The compression down by Google PageSpeed Insights is without a doubt one of the best there is.
Method 3: Optimize Images via Photoshop
There are a lot of tools that you can use to edit, crop, optimize and enlarge WordPress images. One of the easiest and often overlooked methods of optimizing images is using Photoshop’s Save For Web option.
We recommend that you run all of your images through Photoshop’s Save for Web option to optimize the WordPress images.
Conclusion
Images are the probably the most notorious elements of the web page that are responsible for slower page loading times. I believe the three methods highlighted in this tutorial will give you enough options to either optimize images before uploading them to your WordPress website or optimizing them after you have uploaded them.
Create Faster WordPress Websites!
Free eBook on WordPress Performance right in your inbox.
